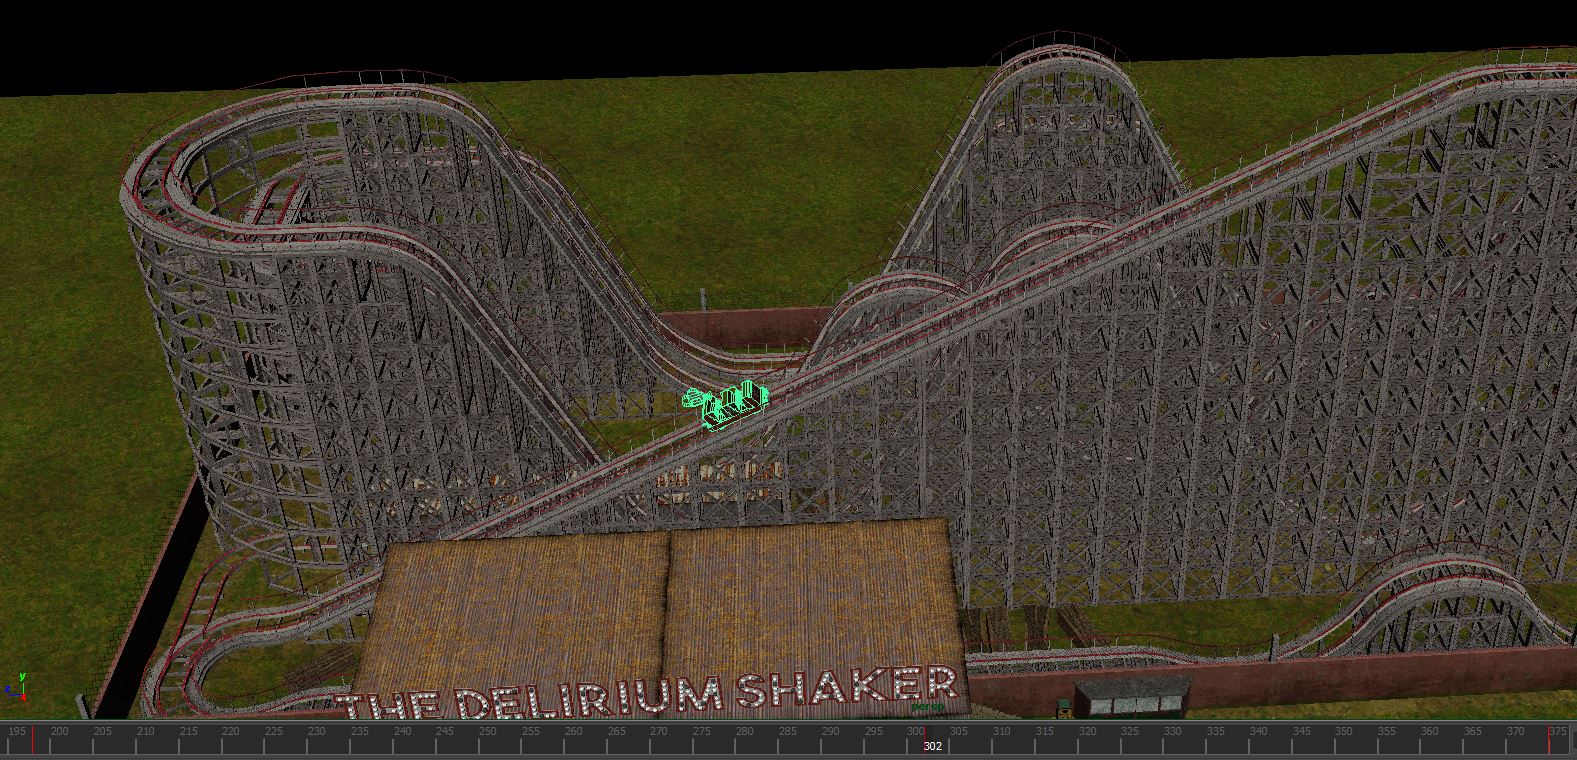
Using the key frame software in Maya helps fill in gaps between key frames. After the coaster leaves the station is rolls down a small curve and is met with the chain to pull it to the top. When animating this sequence of the cart climbing the coaster for the first drop, Maya made this very easy. From the bottom I set a key frame and then moved the time slider to a relevant time and then moved the cart to the very tip of the track before it would start tilting over the top. When I placed a key frame at the bottom and then another at the top the key frames in-between are automatically filled in. So when the cart gets to the bottom key point it then knows its next key frame is at the top of the track so It fills it in and animates the cart going from one key frame to another. And just to make sure it was following the right path and not dipping or rising too much I added another key frame in the middle point of the climb animation.
Thursday, 28 May 2015
Animation
For my roller-coaster project I wanted and fully functioning machine that would show what animation skills I have. Since my last animation project I hadn't used any sort of other animation since so I knew I could still use maya's easy key frame animation to create what I want. So when I set the scene up I firstly positioned the cart and handles to where I wanted them. I then pressed 'S' on the keyboard to save the first key frame.
Using the key frame software in Maya helps fill in gaps between key frames. After the coaster leaves the station is rolls down a small curve and is met with the chain to pull it to the top. When animating this sequence of the cart climbing the coaster for the first drop, Maya made this very easy. From the bottom I set a key frame and then moved the time slider to a relevant time and then moved the cart to the very tip of the track before it would start tilting over the top. When I placed a key frame at the bottom and then another at the top the key frames in-between are automatically filled in. So when the cart gets to the bottom key point it then knows its next key frame is at the top of the track so It fills it in and animates the cart going from one key frame to another. And just to make sure it was following the right path and not dipping or rising too much I added another key frame in the middle point of the climb animation.
Monday, 25 May 2015
Trailers
With the circus tents added to the scene I still felt the space I had left was still very large and while looking back for the circus tents, I saw at certain fun fairs and amusement parks there were trailers which some of the people that worked there would go back, similar to a staff room at most jobs. So I quickly put together a basic design and added them into the unity scene. I am very pleased with the scene and so far am not going to model anything more unless I have the time or is mandatory.
Circus Tent
Reviewing my scene I felt it was slightly empty due to the space and size I have chosen.The terrain size was my own design and decision. But instead of simply reducing the terrain in size I gave myself a challenge to fill that space with something. When I started looking back at my research and especially the book's two covers, I saw circus tents which I thought would give the scene similarities to the book cover. Book covers are at the bottom of the page.
Fence
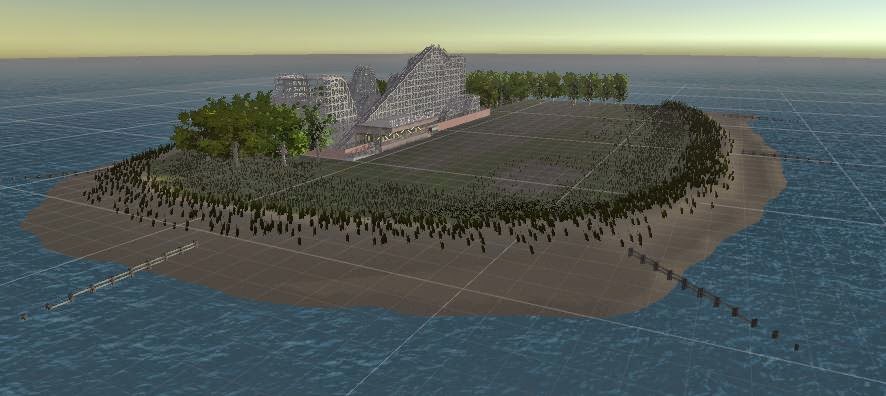
After placing the Roller coaster and Ferris Wheel into my unity scene I decided to do a quick model of a fence which will be easily duplicated around the park limits. This shows where the park starts and begins around the coast line.
Ferris Wheel
Adding my last years final project which is based off the same book 'Joyland', it helped make the scene feel more like a theme park. By placing the Ferris wheel into the scene it has improved the scene detail and quality. I knew from the beginning that I wanted to add the Ferris wheel to my scene to help it in any way possible.
Groynes
When constructing my scene in unity I realised my beaches didn't have a beach environment feeling. I have painted the texture with a sand texture Unity provides which has helped. But looking my scene I felt like something was missing. So when I looked back at my research I realised I had missed a common asset which nearly all beaches have around the world. They are called groynes and help to protect the shoreline from coastal erosion.They are very common around the beaches in the UK and come is different shapes and sizes. I added these to give my beach line and scene a more realistic and standardised beach setting.
Sunlight
Unity 5 has helped alot with lighting because of it real time rendering. There is a basic sunshine setting within unity which gives your scene global illumination. What I have also done which unity provides is a screen glare which makes the sun look more realistic when look directly a it.
Subscribe to:
Posts (Atom)